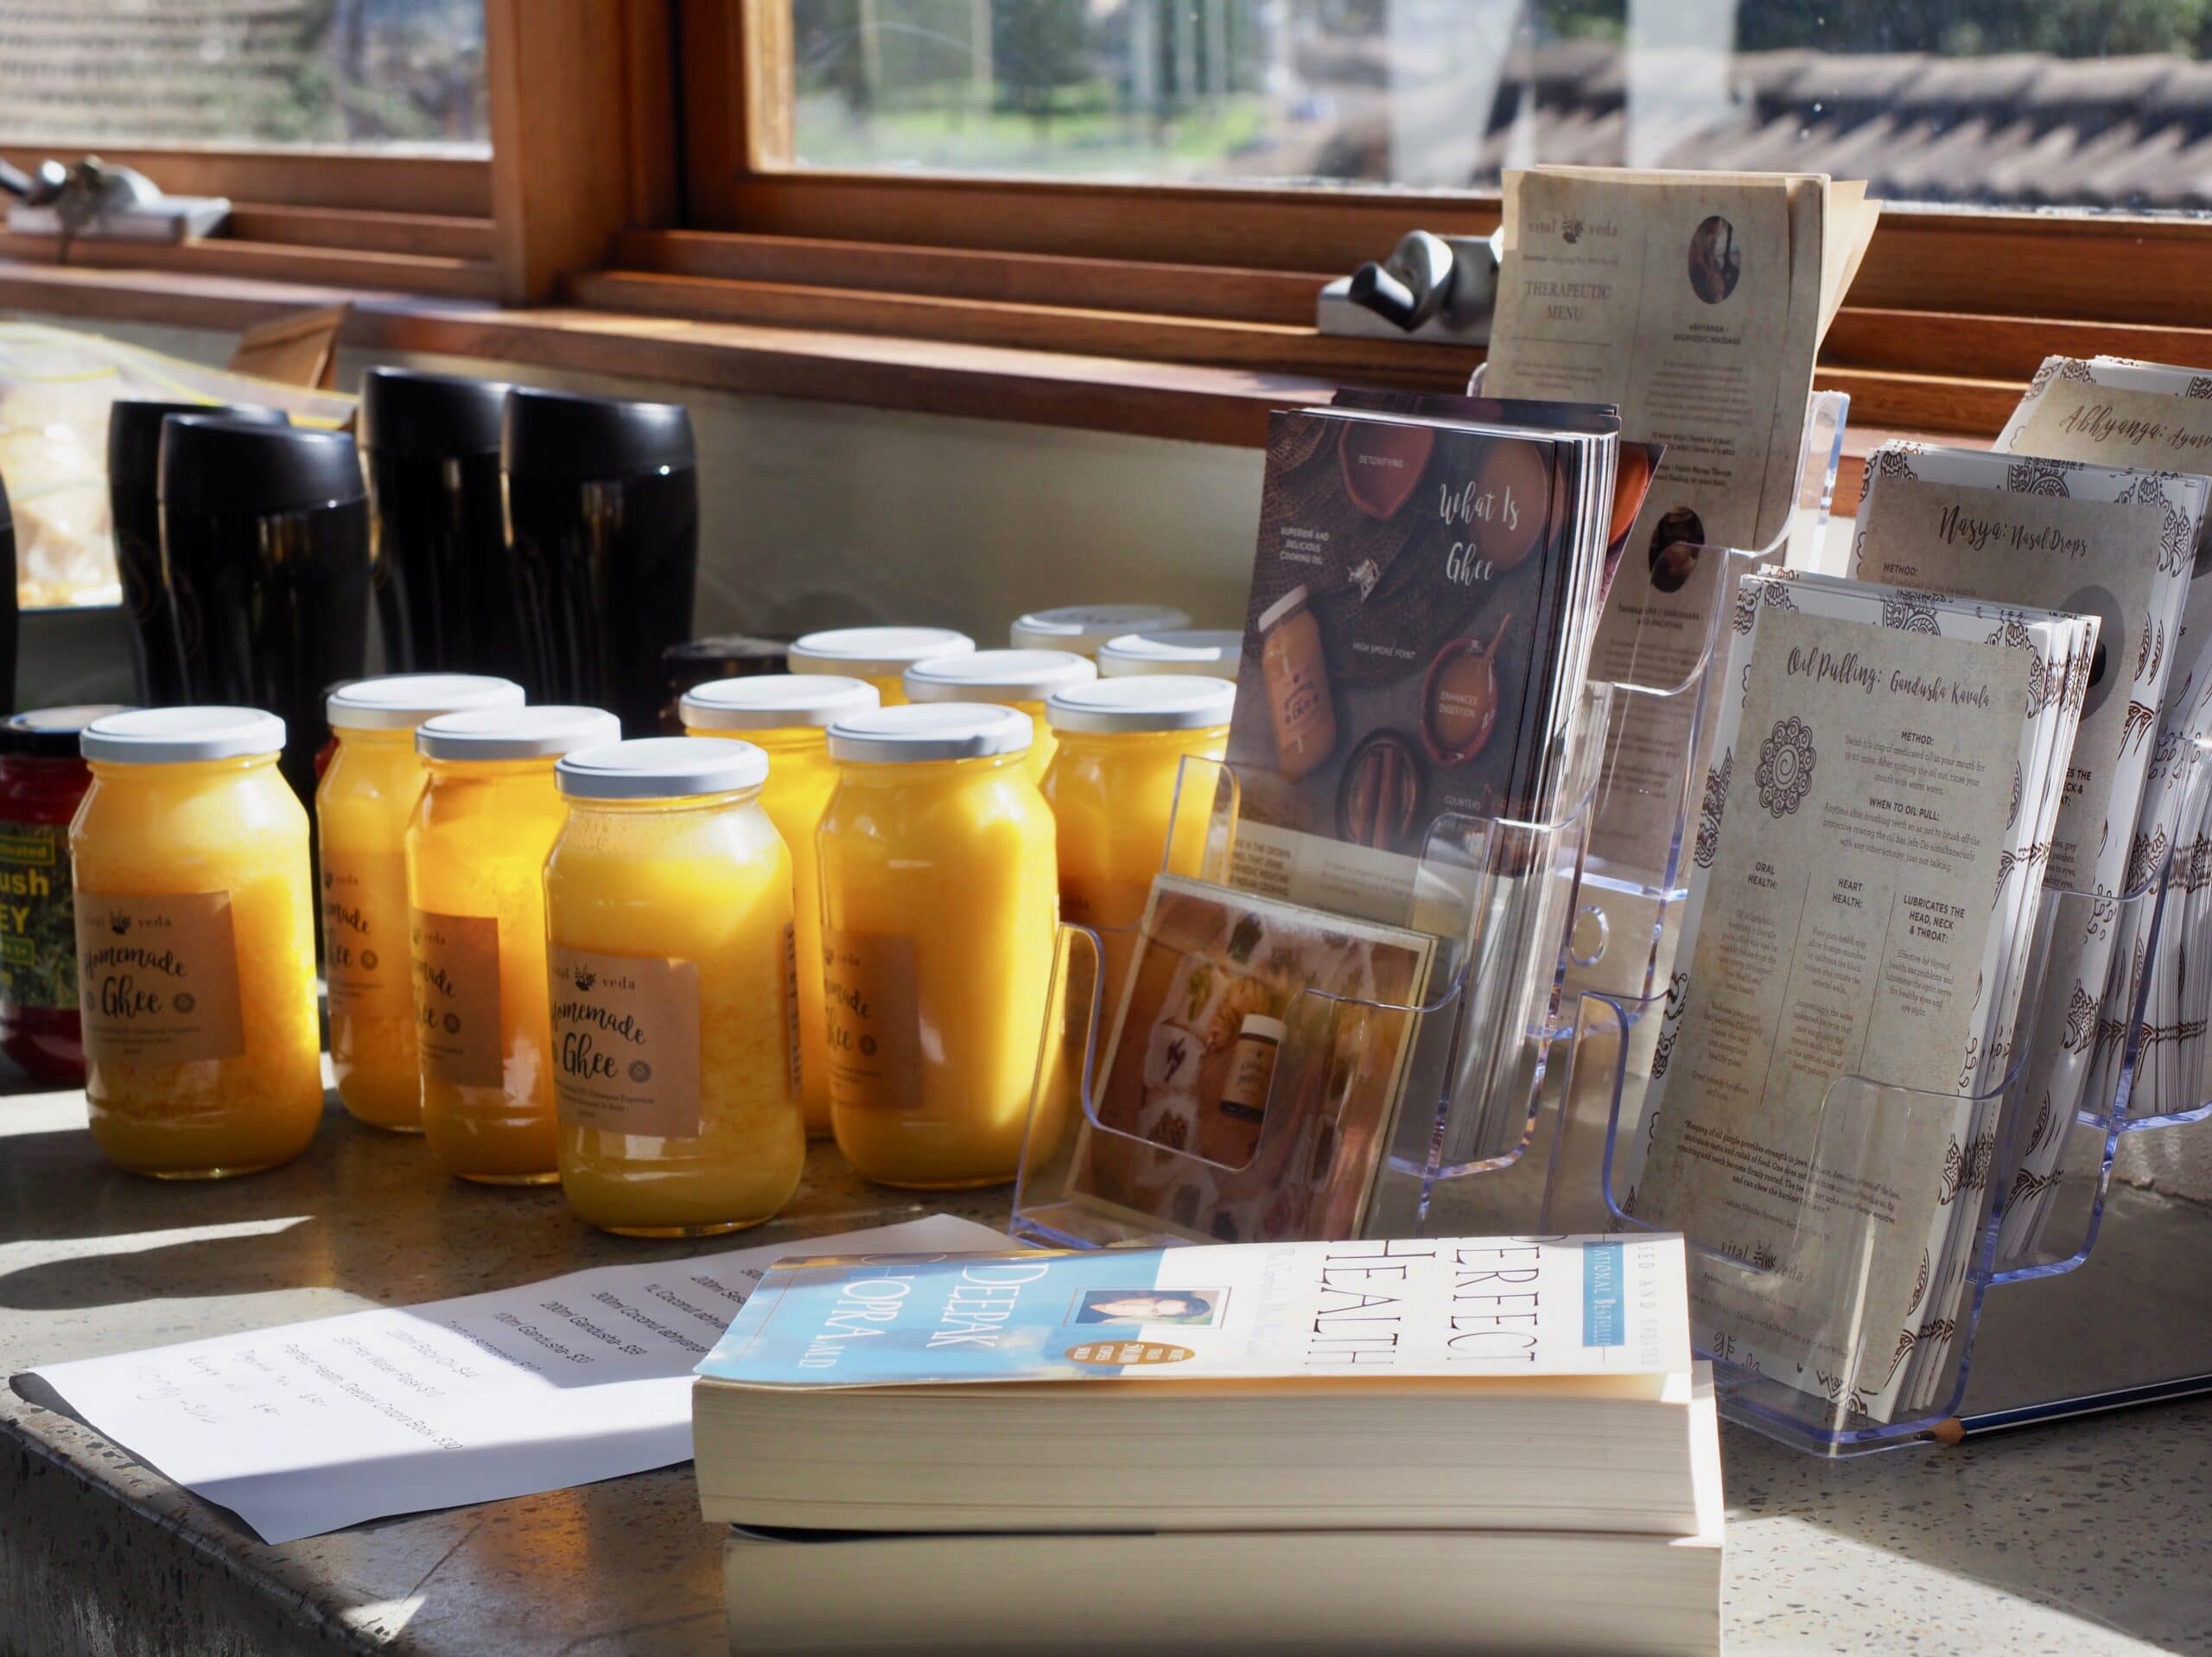
Written the Gheeru, Dylan Smith
Ghee Making is Very Simple
The article is extensive as there are so many layers of conscious cooking you can utilise when making ghee.
I invite you to read the full article, but just to prove its simplicity:
GHEE MAKING INSTRUCTIONS SIMPLIFIED
- Place high-quality unsalted butter in a clean heavy-bottomed pot.
- Put on low heat (preferably fire or gas flame).
- Do not touch while cooking. Let the ghee be, and send it good vibes.
- When the top layer of the ghee is “crusty” and still, with a reddish/brownish color, turn the flame off.
- Remove most of the crust from the pan and dispose of it.
- Strain the ghee through a thin strainer + cheese cloth into jars for use and enjoy!
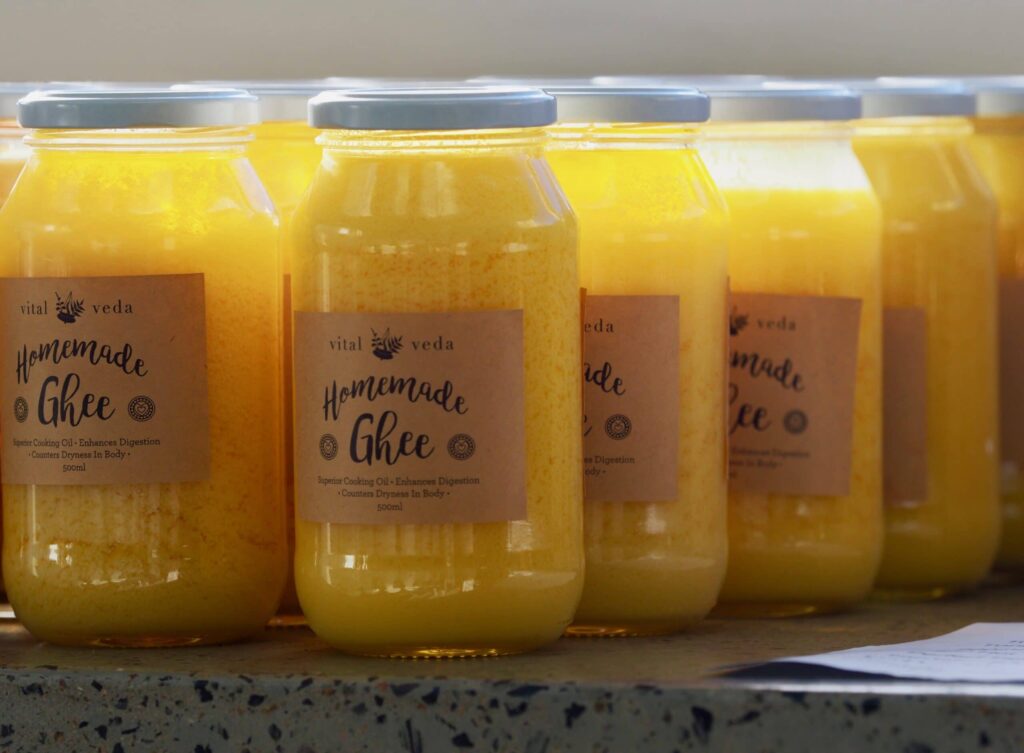
Now, much more mindful recommendations on how to make the best ghee ever…
Before You Make Ghee:
Ghee is super-sensitive. It is so rich in micro-organisms that react to your energy as well as other micro-organisms such as food crumbs or scraps.
Ghee, when completely purified and made properly actually gets better with age. In order for it to last with potency, you need to keep your jar of ghee clean. One way to do this is to only use a clean spoon when scooping out some golden nectar that you want to drizzle into your pan or on your plate of freshly cooked rice.
Cleanliness certainly also includes clean thoughts, emotions and state of being of the person making it.
In Ayurveda, we call this emotional state called “Sattva” – which refers to a pure light radiating from the individual.
Be happy, sing mantras inwardly or outwardly, you will be surprised how much this enhances the ghee quality. Ghee is extremely rich in beneficial microbes, particularly Clostridium butyricum, and these bugs become more prevalent and radiate their health-promoting qualities when attention and love radiates in their environment and especially if that flow of consciousness (“Soma”) is directed specifically towards them and the sweet medium of fat that carries them.

Keep all ghee making equipment dry.
Be careful of nearby taps that may splash water during use. I use paper towels to wipe all the utensils down (pot, ladels, spoons strainers, etc) before use as paper towels have not been contaminated with foods or bacteria, unlike tea-towels.
Other Aspects To Consider:
Obtain the best quality unsalted butter possible
This means as ethical as possible.
Grass-fed, well-treated, happy cows.
Cultured butter.
Ideally butter made from churning yoghurt.
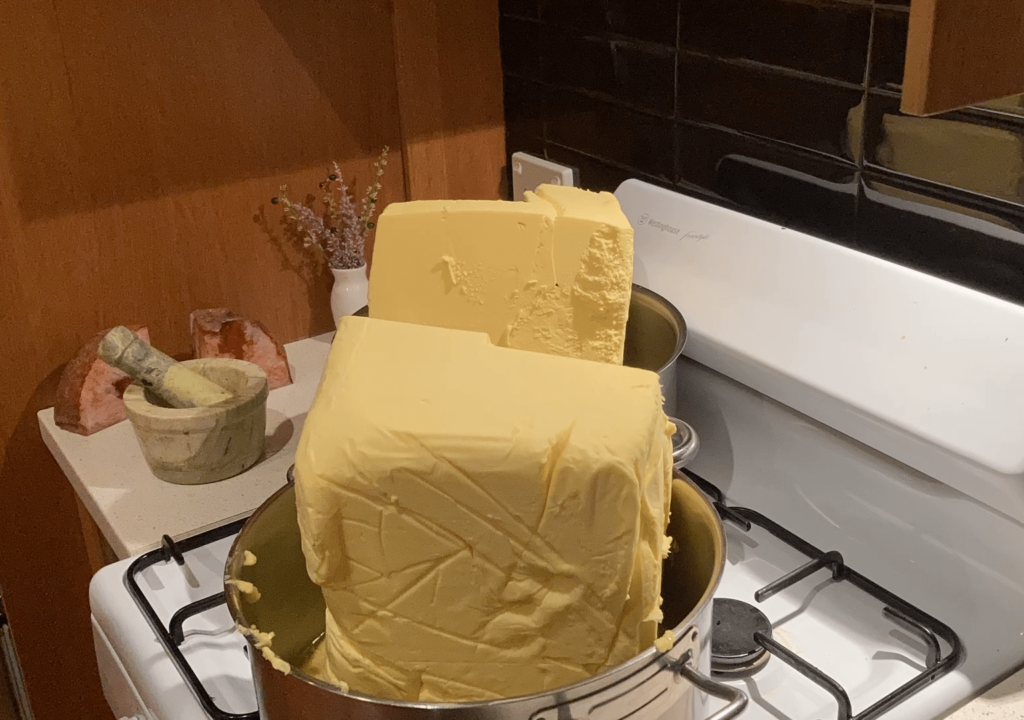
Amount of butter – For greater potency, keep the ghee-making in small batches. This is one factor that will distinguish your tasty homemade ghee from commercial ghee. I think over 8-10kg of ghee per pot in a regular gas stove is too much. It does however depend on the fire you are using to cook.
In the video above, we used about 6.5kg of butter per pot.
Instructions for ghee preparation (e.g. time limit to cook and finish) differs according to a few factors:
- The size and weight of your cooking pot
- The amount of butter you are using
- The strength and size of your flame.
Use a Heavy Bottomed Pot
I like a heavy stainless steel.
We also have a pot only for cooking ghee. This way the ghee remains more pure and un-touched, in a microbial way and a subtle energetic way.
Use a Very Low Flame and Simmer Mat
I like to use the lowest flame possible and I cook it overnight with a lot of butter.
I also use a simmer mat that disperses the heat more evenly, rather than a concentrated flame that fires a small surface area at the pot base centre.
Pot position – Ensure the centre of the pot is directly over the centre of the flame.
The Biloma Method – The Ideal Ghee Making Process
The ideal way to make ghee is making milk into yoghurt, then making yoghurt into butter, then using that butter to make ghee.
Ideally, you are using raw, beer quality A2 milk.
Using clay utensils to make the yoghurt and butter is ideal.
The Cooking Process:
Cook the butter on a low flame.
After it melts, it will go through various stages of bubbling:
big bubbles – this is the Kapha dosha being released (purifying the vitiating earth and water elements out of the butter)
medium bubbles – this is pitta (purifying the excess fire element from the butter)
small. hard, quick bubbles – this is vata (purifying the air and space element from the butter). This is one of the final stages of the ghee making process.
There are also various stages of “foaming” throughout the process. This is mostly early on in the ghee making process. Sometimes, there are two stages of “stillness” – when the top layer of the ghee is still. The first stage is usually “still foam”, and the “second stage of stillness” is after the second
The ghee is ready when there is a still “crusty” layer at the top. There are hardly any or no bubbles, and the layer is crusty with a reddish/brown colour.
Don‘t touch the ghee throughout the process as much as possible. Let it be.
At the end, you can move the crust/foam with a clean spoon to peak through. You should see what looks like a reddish/dark brown coating on the base of the pot. It may looked burnt and others would even say you burnt it because there is dark gunk stuck to the base of the pot. But it should not be. It can be burnt (black colour, smells burnt), of which is not good. You do want that coating (slightly burnt milk solids and butter impurities) on the case which kind of looks like honey comb stuck to the base.
Scoop out the crust – Scoop out majority of the crust for easier straining. I let this crust sit in a strainer over my plate to collect the drips (every drop is precious).
Strain the liquid gold through a fine sieve + clean cheese cloth (that doesn’t shed strings. I keep my cheese cloth for ghee only in a ziplock bag, which I change every few times of making ghee).
Pour into clean sterile jars and enjoy!
Cooking time
As said earlier, the time to prepare ghee absolutely changes according to the unique factors (butter quantity, flame strength, pot used).
It takes me 10 hours to prepare 6.5kg of butter on my stove (see time-lapse part of ghee-making video, where 10 hours is turned into 36 seconds, highlighting the preperation stages).
The Importance of Proper Purification and Cooking
Here is another factor that will distinguish your ghee from others ghee – cooking it for a long time to properly purify the butter and remove the impurities.
Most people don’t do this for a few reasons:
They don’t understand the importance of proper purification
They are scared to burn the ghee
They are commercially making ghee and/or want more bang for their buck
I Burnt My Ghee, What To Do?
You can tell if you burnt your ghee as it will be a brown or dark golden colour. The main factor is you can smell it burnt, but you can also taste it.
The only use I know of burnt ghee is to use it as fire fuel or for oil lamps. Not for eating.
Note, it may take a few goes to “get to know” your ghee set up (stove, pot, butter amount etc.) before you nail it.
Keep an eye on the ghee, don’t leave it as it can burn very quickly. Don’t leave the stove unattended. Give it your divine attention.
Cleaning Up
This is a big process of making ghee, particularly if you are doing quantities like 6.5kg per pot.
Cleaning the pot:
With a scraper and without much force, scrape off the excess milk solids at the bottom of the pot and dispose.
Soak the pot in hot water + natural soap + lemon juice for an hour or more.
Again scrape with more force the base of the pot and remove basically all the large parts of the gunk.
With steel wool, clean the final remains of the pot and finish.
Cleaning ghee cloth:
I just use very hot water and rub it together. That’s it. Dry in the sun if possible.
Cleaning utensils (ladles, spoons, pouring jugs, etc):
I wipe with paper towel to remove oil and then clean as usual.
Making Ghee According To Jyotish (Vedic Astrology):
Ghee is one of the foods that mostly resonates with Soma – a quality in nature that relates with the cosmic waters, has an unctuous (snigdha) lunar quality and offers consciousness-expanding nectar.
We can increase the Soma quality in ghee by preparing with mantras, good intentions and a blissful state of cooking.
We can also utilise the energy of the planets and stars when cooking to further enhance Soma.
Times that are beneficial and more Soma enhancing to cook ghee:
The waxing moon, especially full moon in its waxing stage, and on Fridays and Sundays.
Ashwini nakṣatra (constellation)
Dīpavali (Diwali festival)
Other auspicious events and times.
Times that are inauspicious to cook ghee:
New moon
Eclipses
When a woman is menstruating (her downward flow of energy at the time contradicts with the upward flame of agni/fire).
Note, to first consider the inauspicious times. For example, if you are experiencing an eclipse on a full moon, it is better to not prepare ghee.
There is so much to ghee-making. It is a beautiful ritual and can even be a form of meditation.
Keep pursuing until you find your unique way and methods.

